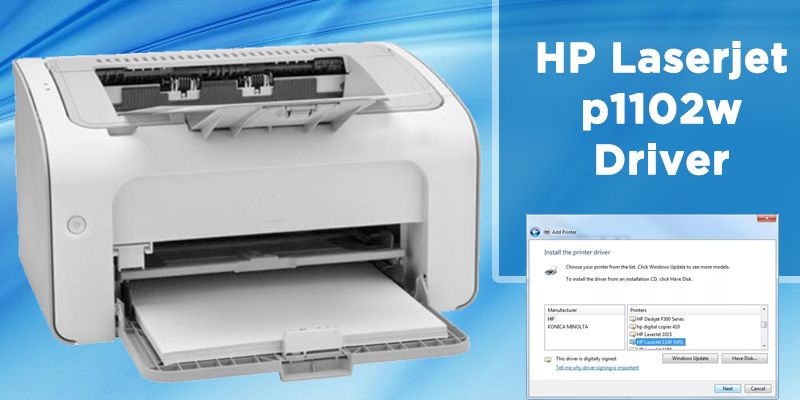
To stay up to date with advanced printing technology, HP laserjet p1102w is the best choice for printing documents. The HP laserjet p1102w printer is easy to use, robust and loaded with advanced printing features. The device comes with a Wi-Fi connectivity feature that allows users to print documents from their laptop, computer, smartphone etc., whenever they want. However, if you want to use the printing services at their best, you must install the latest version of the HP laserjet p1102w driver for your device during the setup. Drivers play an important role in the communication between printer and computer. Without the printer driver or software, your device cannot communicate or print the document. If you are looking forward to setting up the HP laserjet p1102w printer, this post can help you. Keep reading, and find the easy steps to set up the printer for your Windows and MAC device.
HP laserjet p1102w Wireless Setup For Windows
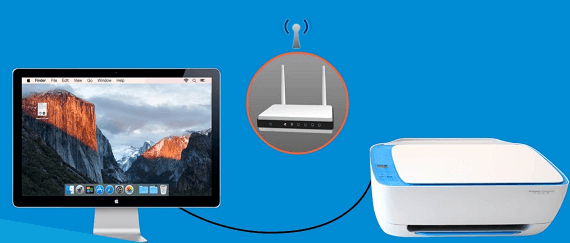
- To print documents wirelessly, you need to set up the printer over a Wi-Fi network. Here are the step by step instructions to do that:
- Turn on the HP printer and Windows computer. Place both the devices in close proximity.
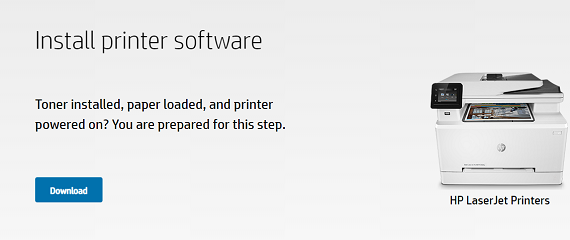
- Now, open any preferred web browser on your PC and visit the 123.hp.com/laserjet website. Proceed with onscreen instructions to download the HP laserjet p1102w driver for your device.
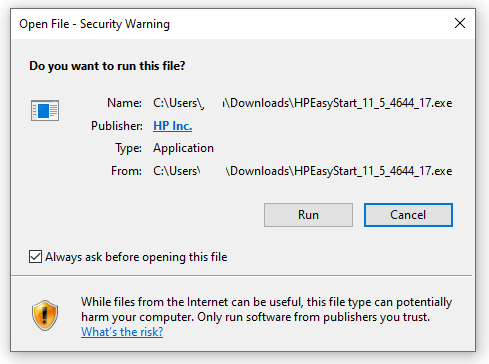
- Once the drivers are downloaded, visit the download folder, and open the downloaded file to proceed with the setup.
- Read the terms and conditions of the license agreement carefully, and after that put the checkmark on the box next to ” I have reviewed and accepted agreement and settings”.
- Click the ‘Easy install” option checkbox.
- Hit the “Next” button.
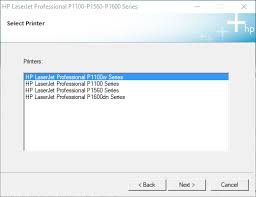
- The new page will appear on your screen with the option “Printer Found”.
- From here, choose your printer and click on the ” Continue” button.
- Once the software installation is successfully completed, the printer will show on the screen. If you are unable to see your printer, click the “my printer is not shown” button.
- Hit the “Continue” button.
- Choose the ” configure to print over Wi-Fi network” option.
- Hit the “Next” button
- The software installation will begin.
- After this, connect your PC and printer using the USB cable.
- Once the device is successfully detected, the printer installation process will continue on the Wi-Fi configuration utility.
- Hit the “next” button.
- When you see the ” Wireless Discovery” option prompted on your screen, choose “Automatic” to find your device for Wi-Fi login credentials.
- Click on the “Next” button.
- After this, your device will be connected to the Wi-Fi network.
- At last, safely remove the USB cable and click on the “Finish” button to complete the task.
HP laserjet p1102w Wireless Setup For Mac
Here is the step by step guidelines to setup HP LaserJet p1102w printer for Mac device:
- Turn on the HP printer. There should be no error light on the device, and it must be in the ready state.
- Turn on your Mac device.
- Connect Mac to the Wi-Fi network that you would like to share with your HP printer.
- You can connect the Mac device and printer using the USB cable.
- Now the popup window will automatically appear on your screen and ask you for permission to download the necessary HP laserjet p1102w driver and software for the device.
- To grant permission, hit the “install” button.
- Now, the license agreement will prompt on your screen. Read the terms and conditions carefully, and if you agree with them, click on the “Agree” button.
- The driver downloading and installation will automatically begin on your device.
- Once you have completed the printer installation, tap on the “Apple” icon.
- Choose the ” System Preferences” option.
- Go to the “Printers And Scanner” section.
- Click the “Open print queue” option and hit the ” printer setup” button.
- Tap on the “Settings” option, and after that, click the ” Utility” button.
- Click the “Open Printer Utility” button.
- The new window will appear on your screen. Here, find and click the “HTML configuration” button.
- After that, click on the ” Networking” tab.
- Under the ” IPV4 Configuration”, choose the ” Wireless” option.
- Change the printer status to ” Enabled” from “Disabled”.
- Hit the “Apple” button, after that, click “Ok”.
- Get back to the previous WiFi Setup page.
- Under the “SSID- network name”, choose the shared network name and after that hit the button that shows the two arrows.
- Select the “Security Mode” under the ” Authentication Field”, and enter the password to connect.
- Hit the “Apply” button.
- Get back to the printer and scanner section.
- Click the “+” option and you will see the pop up appearing on your screen. Here select your printer and click on the add button.
Your HP laserjet p1102w setup is now complete and you are ready to print the documents.
We hope that with the help of the simple steps you will be able to install the HP laserjet p1102w for your Windows and MAC device. Get the latest version of HP laserjet p1102w driver following the steps above and enjoy the smooth printing experience with HP printer support. In case of doubt or any technical query, do not hesitate to take expert help.