
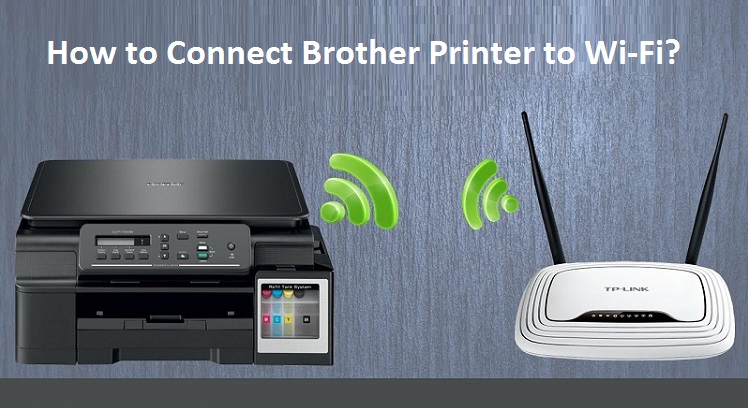
Brother Printer is specially designed to print, scan or fax the document in an effortless manner. In order to hassle-freely print anything, it is necessary to first set up your Brother machine on a wireless or wired network. For wireless connection, you must have to find out the wireless network settings of your wireless router or access point. The following credentials are required if you go for Connect Brother Printer to Wi-Fi:
- Wireless Network Name (SSID)
- Wireless Network Key (Password)
If you are unable to find out the Network Name (SSID) and Network Key (Password) of your wireless router, obtain trustworthy Printer Support for better advice. The team will surely guide you for the same.
Methods to Connect Brother Printer to Wi-Fi
You can frequently Connect Brother Printer to Wi-Fi with 4-different methods such as through:
- Wireless Direct
- Infrastructure Mode
- Wi-Fi Protected Setup (WPS)
- Ad-hoc Mode
To start making connection your Brother Printer via Wi-Fi network, follow the given guidelines properly:
Method 1: Wireless Direct
Wireless Direct allows you to Connect Brother Printer to Wi-Fi to your computer or mobile device directly without even having Wi-Fi access point/router; the printer serves as a Wi-Fi access point. Here is what you need to go through for the direct connection:
- Check the Wireless Direct settings of your printer. When you connect your printer to a mobile device, you have to use a Windows PC or Mac to confirm the settings:
For Windows PCs
- First Connect the printer and computer using a USB cable
- Start the Printer Setting Tool on your computer, and click the “Communication Settings” button
- Now, go to the “General” tab and ensure that “Wireless Direct” is selected for “Selected Interface”. This is selected as the factory default settings.
For Mac Computers
- Connect the printer and Mac computer via USB cable
- Start the Printer Setting Tool on your Mac
- Then, go to the “Wireless LAN” tab and ensure that “Wireless Direct” is set to “On”
- This is selected as the factory default settings
- Once you have confirmed the Wireless Direct Settings, press and hold the Wi-Fi button on your printer for a couple of second to turn the Wi-Fi function ON
- The Wi-Fi indicator starts flashing in blue so that you get to know that your Wi-Fi has turned-on
- Use your computer or mobile device to select the SSID or Network Name of your printer and enter the password into the required field
- Once the connection is established, the Wi-Fi indicator light is shown in blue
Method 2: Infrastructure Mode
Infrastructure Mode allows you to Connect Brother Printer to Wi-Fi via a Wi-Fi access point/router. Before you begin the process of establishing connection between your printer and computer, you have to first configure the Wi-Fi settings of your printer. Once the printer is configured, computers or mobile devices on your network will have access point to the printer. Now, start connecting your printer to your Wi-Fi access point/router with the help of below-noted procedures:
- First, note-down the SSID (network name) and password (network key) of your Wi-Fi access point/router on notebook
- Now, Connect your printer and computer using USB cable
- Press and hold the Wi-Fi button on your printer for a second to turn the Wi-Fi function ON
- The Wi-Fi indicator starts flashing blue once every three seconds
- Configure the Infrastructure Mode settings of the printer
For Windows PCs
- Start the Printer Setting Tool on your computer, and click the “Communication Settings” button
- Now, go to the “General” tab and select the “Wireless LAN” option for “Selected Interface”
- Under the “Wireless LAN” section, choose “Infrastructure” option for “Communication Mode” in “Wireless Settings” tab
For Mac computers
- Start the Wireless Device Setup Wizard included in the Printer Driver Package, and then follow the on-screen prompts accordingly
- Enter the SSID that you wrote down earlier, or click “Search” and select the SSID from the displayed list
- Enter the password as “Passphrase”
- Click “Apply” and “OK” to end-up the connection process
After establishment of the connection between the printer and your Wi-Fi access point/router, the Wi-Fi indicator lights flash in blue. You can now print wirelessly from your Brother printer.
Method 3: Wi-Fi Protected Setup (WPS)
If your Wi-Fi access point/router supports WPS, you can configure the settings and connections easily. Let’s start the process:
- First, make sure that Wi-Fi access point/router has the WPS symbol
- Place your printer within the range of your Wi-Fi access point/router. The range may vary depending on the environment
- Press the WPS button on your Wi-Fi access point/router and press and hold the Wi-Fi button on the printer for a while
- The Wi-Fi indicator on the printer starts flashing in blue once every second
- When the connection is established, the Wi-Fi indicator lights shown in blue
Method 4: Ad-hoc Mode
Ad-hoc Mode allows you to Connect Brother Printer to Wi-Fi directly without a Wi-Fi access point/router. Here is the process for establishing the connection wirelessly:
- Press and hold the Wi-Fi button on your printer for one second to active the Wi-Fi function
- The Wi-Fi indicator starts flashing in blue once every three seconds if it is on
- Use a Windows PC or Mac to configure the Ad-hoc Mode settings of the printer:
For Windows PCs
- Connect the printer and your computer using USB cable
- Start the Printer Setting Tool, and click the “Communication Settings” button
- Select “Wireless LAN” for “Selected Interface” in the “General” tab
- Then, select “Ad-hoc” option for “Communication Mode” in “Wireless Settings” in the “Wireless LAN” tab
For Mac Computers
- Start the Wireless Device Setup Wizard included in the Printer Driver Package, and then follow the on-screen prompted guidelines
- Use your computer or mobile device to select the SSID of your printer and, if you set the password on the Printer Setting Tool, enter that password
- After giving these information, the connection will be established
- The Wi-Fi indicator lights shown in blue if the wireless connection has been set up finally
Contact to Printer Tech Support Team for Handy Guidance
If you are not completely satisfied with the afore-mentioned instructions related to Connect Brother Printer to Wi-Fi, don’t be worried anymore! We have technical team for your help. You can acquire effective Printer Tech Support from tech-savvy to set up the connection wirelessly between your Brother Printer and computer.